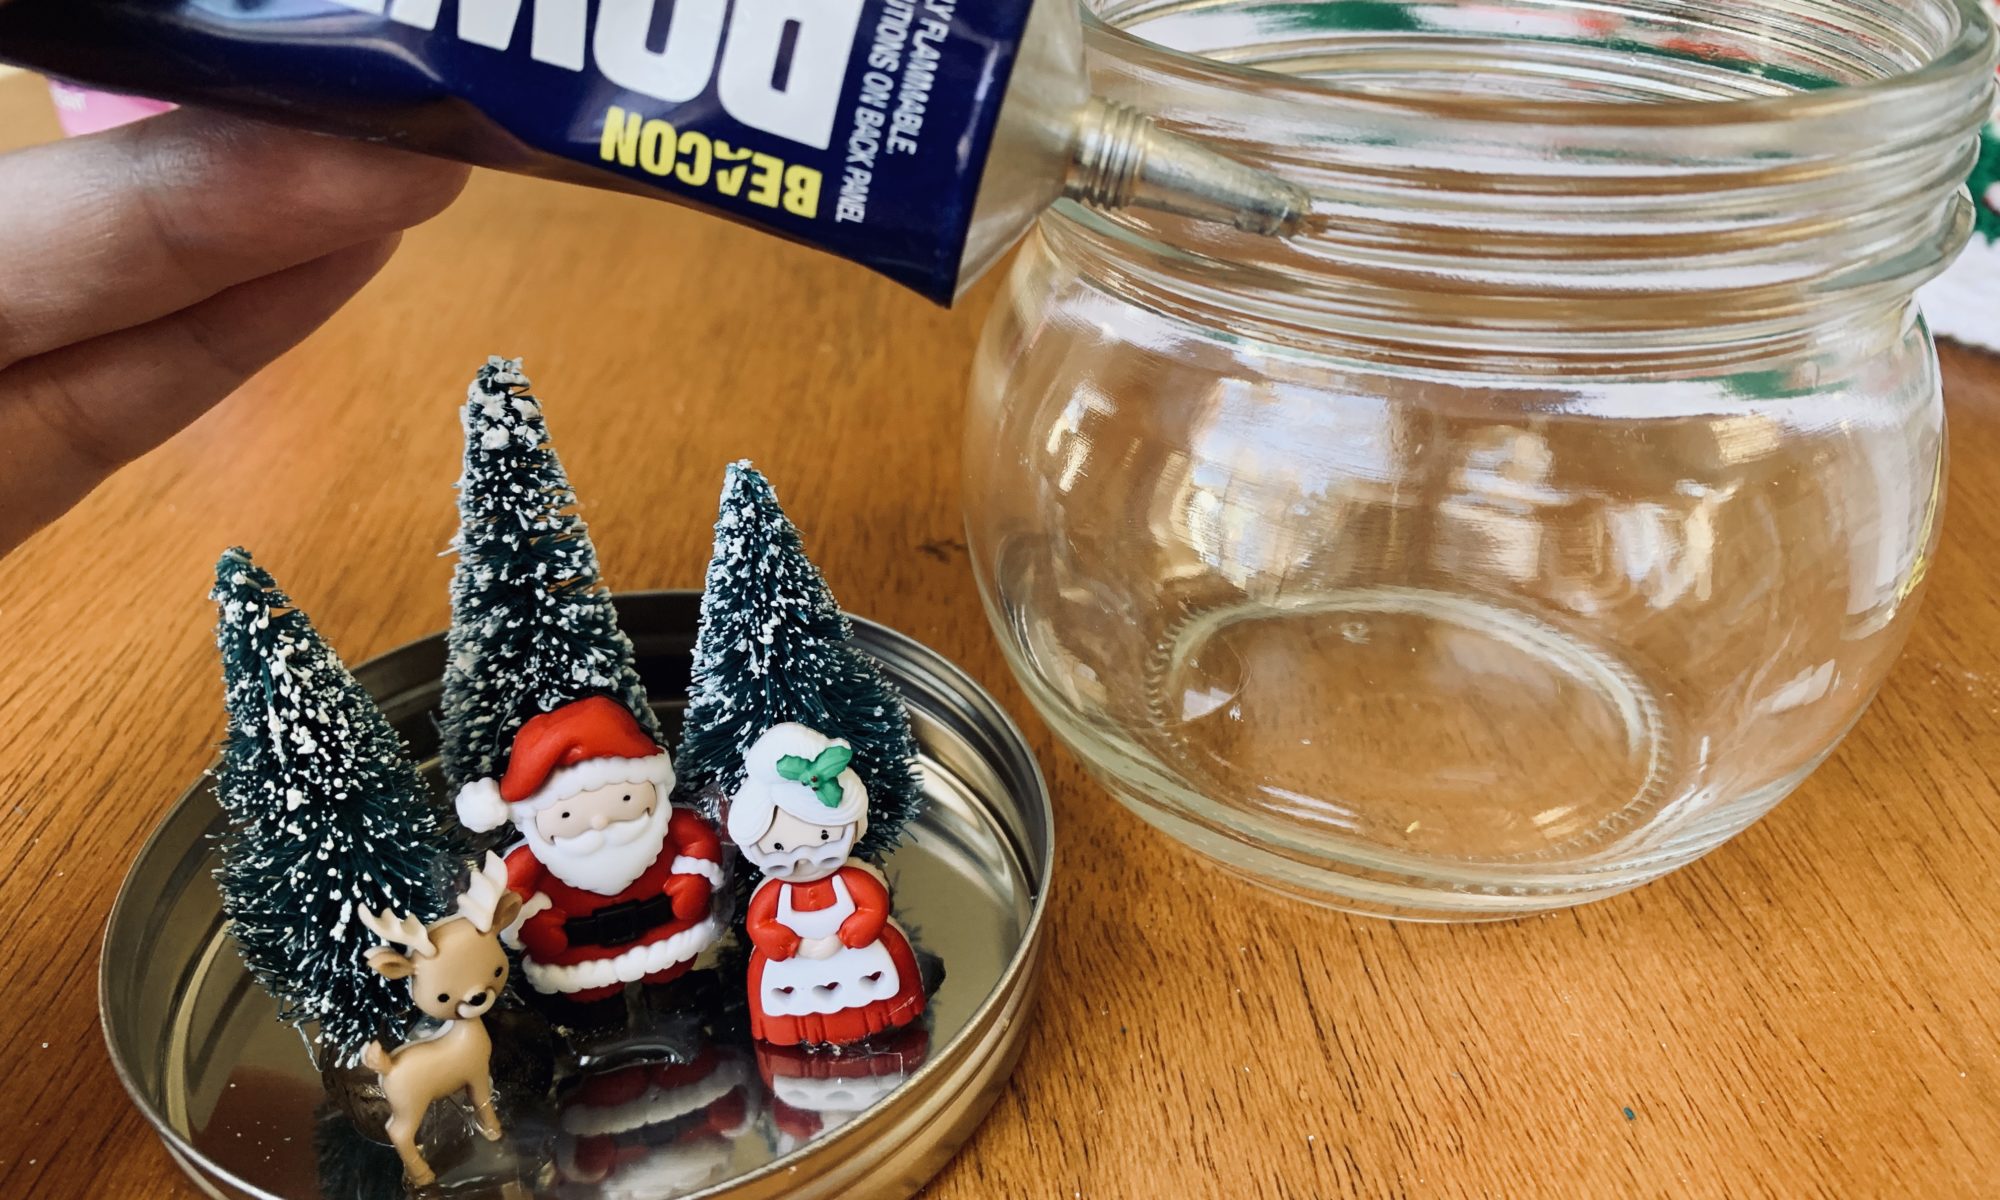
Snow globes have become one of my favorite Christmas items to collect. All kids, from 1-92, can appreciate a snow globe and all of it’s beauty. I came up with this DIY as a fun activity to do with your family, or as an inexpensive and memorable gift.
What you will need:
- A glass jar for the globe (any jar will do but I went with a rounded one for a better “globe” feel)
- liquid vegetable glycerine (this helps keep the water clear and also makes it thicker so your snow will fall slowly)
- White or silver glitter (this will be for the snow but feel free to use any color!)
- Power Tac Industrial Grade Adjesive, or a similar waterproof glue meant specifically for glass and metals. I picked this one up at our local craft store.
- Your choice of decor items to be used within the snow globe. I went with little trees, Santa, Mrs. Claus and a reindeer.

Directions:
- Open your jar and place the lid in front of you, upside down.
- Bwfore touching the glue arrange your items on the lid to get a good idea of spacing and how you want them arranged.
- Using a small drop of glue place your items individually, pressing gently and holding for a few seconds before letting go.

4. Once you have glued your items, set the lid safely aside and let dry a full 24 hours. I know this part doesn’t sound fun but this will ensure that your glue has dried fully and won’t be disrupted by the water.

5. After your glue has dried for 24 hours you can add about 1tsp of glitter and 1/2tsp of the glycerine. Then top the rest of the jar with water leaving about 1/2 an inch of space before the rim.
6. I recommend applying the strong adhesive glue all around the rim of the jar before screwing on the lid to the jar to ensure no curious little hands try to open it.
Step back and appreciate the cute snow globe that YOU made! This is such a sweet keepsake to cherish over the years and makes such a thoughtful gift as well!
We hope you love it! Let us know what you think in the comments below!

