
When we bought our house in 2013 I was certain of three things: I loved it, I wanted new floors and I wanted white kitchen cabinets. We quickly learned that being a homeowner, having kids and traveling doesn’t exactly leave you with many funds for cosmetic home projects. So fast forward five years and our kitchen cabinet (and flooring) dreams have come true!
We know this can seem like a big and daunting project but we are here to tell you that you can do it! First things first: DO YOUR HOMEWORK! Researching all aspects of this project will help you feel confident in approaching it! We read several blogs from people who also painted their own kitchen cabinets. Specifically those who went from a dark wood to a light color like white. In this great age of DIY you are bound to find people who have tackled the same project as you so find them and learn from them!


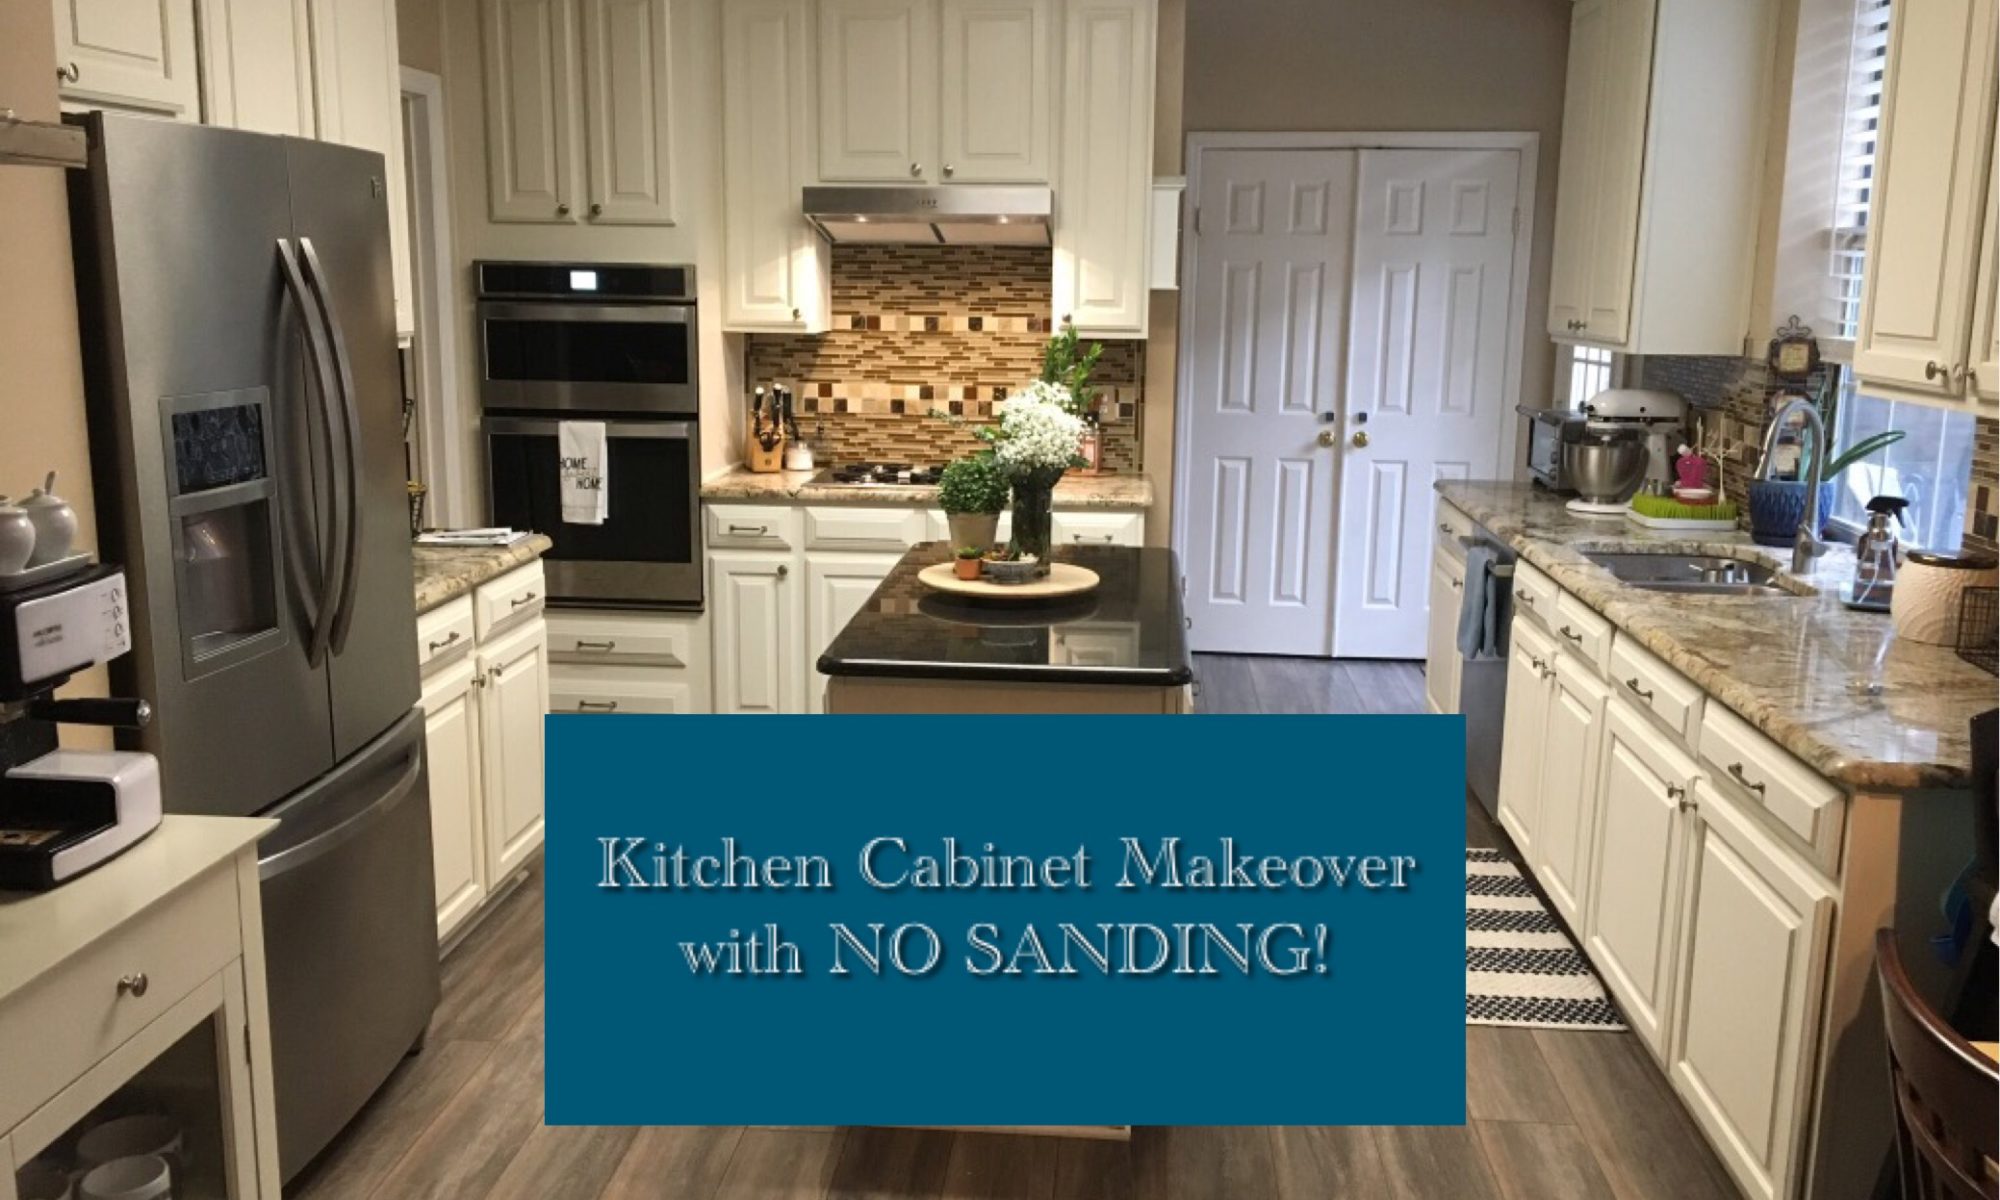
The following are the steps we took to transform our kitchen cabinets.
- Clean your cabinets. This step is crucial in getting your cabinets ready to be stripped and painted properly. We used only a damp cloth to wipe down all the cabinet surfaces. When we came across some tough buildup we used some Thieves Household Cleaner to remove the gunk. Make sure your cabinets are nice and dry before moving on to the next step.
- Degloss your cabinets. We used Klean-Strip Liquid Sander Deglosser for this. Follow the instructions and safety tips on the package. We applied latex gloves and saturated a lint-free cloth with the product. Then we wiped the same way we did with the damp cloth in step one. Wipe them thoroughly, making sure to get every inch you plan to paint. It’s important to note that your cabinets will likely look no different after you degloss them. I expected them to lose all luster but they did not. You could see a slight difference but don’t expect a drastic change.
- Prep your kitchen. Use painters tape and plastic tarps or even trash bags to cover all your counter tops and surrounding floors.
- Paint! Yes, you are ready to paint and you didn’t have to touch a piece of sandpaper! We used General Finishes Milk Paint in Antique White. Wecant stress this enough: We only recommend omitting the sanding step if you are using milk paint! Latex and other paints adhere differently to surfaces and need those surfaces to be prepped in a very specific manner. This milk paint is the best thing since sliced bread if you ask me! We started painting with foam rollers and brushes but after seeing how long it was taking we invested in a Wagner paint sprayer to speed things up. This sprayer was well reviewed specifically for milk paint. The paint went on so evenly, smoothly and so thick! Just one coat of this paint was the coverage equivalent of at least two coats of latex paint. We did three coats of paint, waiting until the paint dried before each coat. We did use 3000 grit wet/dry sandpaper to sand down some little spots that dried in bumps from the sprayer in between coats. Make sure you follow the care instructions for your sprayer, especially cleaning between sessions to prevent clogging.
- Protect your cabinets with top coat. We used General Finishes High Performance Water Based Top Coat in Flat. I can’t even begin to explain how amazing the cabinets feel with this topcoat on them. We did three coats of this topcoat, waiting until it was fully dry between coats.
To complete our project we added brushed nickel cabinet and drawer pulls. This really tied everything together and helped everything to look finished. We have received so many compliments from friends and family on how fresh, big and open the kitchen feels now. We’ve even had multiple people ask if we got new backsplash and counters as well because of how well they pop against white cabinets. Just goes to show what a fresh coat of paint can do! This project took some sweat and tears but it was very doable and entirely worth it to achieve the look we wanted! We hope this gives you some confidence to take the leap for your own kitchen makeover. Feel free to message me with any questions!
Here is a list of the products we used: